To swap faces on Android, open a photo face swap editor in your browser, choose your source portrait and target picture, and generate the result. Download the finished image and open the saved file to check it before sharing.
This walkthrough uses SwapThisFace’s browser editor with two still photos. It covers file selection, target templates, result review, and the common problem of finding a downloaded picture when it hasn’t appeared in your gallery.
Get the source and target ready
Decide which face you want and which scene you want to recreate. The source is the portrait supplying the face. The target is the existing picture where that face should appear.
Open both files on your phone before uploading. Check the eyes, mouth, head angle, and any hair covering the face. Choose one visible face per input and use JPG, PNG or WebP files up to 10 MB each.
Pictures received through messaging apps can have less facial detail than the original camera file. If an image looks blocky when you enlarge it, ask for a clearer original or select another portrait. Increasing its dimensions cannot recover the missing detail.
Open the browser editor and choose your source
Visit the SwapThisFace photo editor on your Android phone. Under “Your face,” tap the upload area and select your portrait.
Android file pickers differ by device and browser. You may see recent photos, a gallery view, or an option to browse files. Choose the actual source image and wait for its preview to appear. If you see the wrong portrait, replace it before continuing.
If the picture is stored remotely, make sure it can open at full resolution on the phone. A thumbnail may appear in a picker before the complete file is available. Give the file time to download locally, then choose it again if the upload fails.
Add the target picture or select a template
Upload the scene under “Your new look.” For a travel edit, that might be a city portrait or a coastal photo. The target contains the composition you are trying to recreate.
You can also browse the face swap templates. “Use this template” opens the editor with that photo selected as the target. Wait for its preview to load, then add your source. You can still replace the target with a picture from your device.
Compare the two panels before creating the swap. If the landscape is in the source panel and your selfie is in the target panel, you have reversed the roles. Correcting the order is more useful than trying the same pair repeatedly.
Create the face swap
Review the processing notice and complete the confirmation shown by the editor. Create the swap once both inputs are ready.
Watch the progress message. When the job finishes, compare the output with the original target using the result control. If the page says the job is still processing, check its status or your history where available before submitting another attempt.
If you change either photo, review the confirmation again. That keeps the next generation tied to the photos you actually selected.
Check the result beyond the thumbnail
Look at the eyes and mouth at a useful size. Then inspect the outline of the face, especially where skin meets hair, a scarf, or a collar. Finally, zoom back out and consider whether the face fits the whole scene.
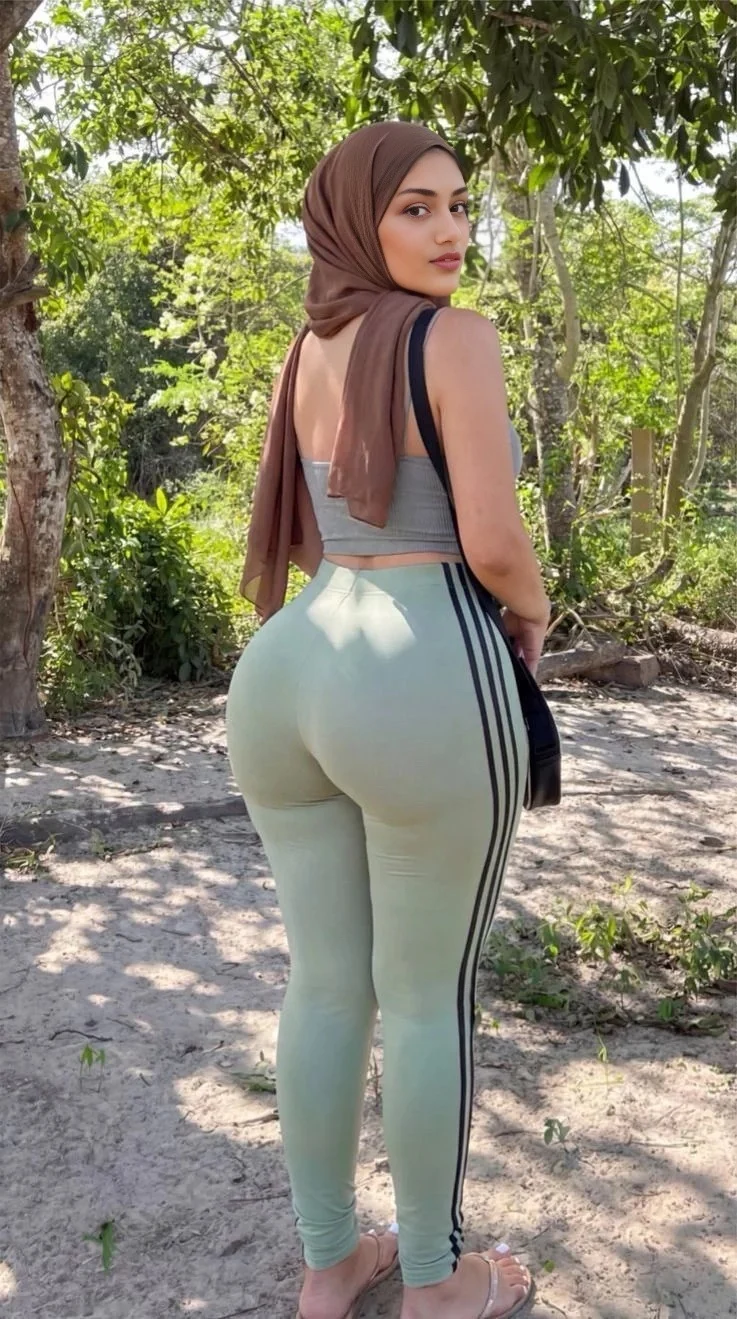
The woodland example in our gallery shows why this matters. Its face turns back toward the camera beside a scarf. That gives you a visible cheek boundary to compare with the target. The hillside example has a smaller face against a large landscape, so you need to zoom in further to inspect it.
Open the full source, target and result comparison when you want to see those roles together. These are existing gallery images. Your chosen selfie will produce its own result.
If the face looks unclear, change the least useful input first. A source with better facial detail may help. When the target has a very small or obstructed face, choose a clearer target. See the realism guide for a more detailed review.
Download the completed picture
Tap Download beside the finished result. Wait for your browser to finish saving the file before closing the page.
In Chrome on Android, you can check More → Downloads. Google also points users to the Files app to find downloaded files. The default download location may be separate from the collection displayed in your photo gallery. Google’s download instructions
Open the saved file and confirm it is the result you intended to keep. If you want to send it to another app, use the sharing options for that downloaded file. Keep the original download available so you can compare it with any compressed copy sent through a messaging service.
Troubleshoot Android uploads and downloads
The photo does not appear in the picker
Open it first in the app where it is stored and save a supported local copy if needed. Then return to the editor and browse for that file. The exact picker folders depend on your device, so check both recent photos and files.
The file is too large or unsupported
Export JPG, PNG or WebP under 10 MB. After reducing the file size, inspect the face again. Heavy compression can make the eyes and mouth less distinct even when the upload now succeeds.
I downloaded it, but my gallery is empty
Check your browser’s Downloads list and your file manager. Confirm the download completed and open the file there. Seeing a browser preview alone does not establish that a saved copy has reached your gallery.
The shared image looks worse than the download
Compare the original downloaded file with the version received in the other app. If only the shared copy is soft, try that app’s option for sending an original-quality image or file when available. Keep the saved result as your reference.
The swap fails after both photos upload
Read the error and check the visible account or credit message. Avoid treating every failure as a photo-quality issue. If the service reports that it is unavailable, changing the selfie won’t resolve that service condition.
Android face swap questions
Can I swap faces on Android without downloading an app?
Yes. This guide uses the browser editor. You choose the photos through your device’s file picker and save the result through the browser.
Can I put a face from one picture onto another on a Samsung phone?
You can use the same browser workflow with supported files. Select the face as the source and the scene as the target. Device-specific gallery labels may differ, but the input roles are the same.
Is the Android face swap free?
You can try the current guest offer of one successful photo swap. Additional attempts use credits. Review the available plans and packs before creating a series of images.
Can this workflow swap faces in a video?
This walkthrough processes two still photos. Choose a supported still image for the target when following these steps.
Make and save your first result
Pick your source portrait, choose the scene, and open the editor. Compare the face before downloading, then open the saved file on your phone so you know exactly which version you are sharing.