Photo face swap examples you can inspect.
Compare one selfie across five target scenes. Open each source, target and result at full size to inspect the face.
Wide hillside portrait
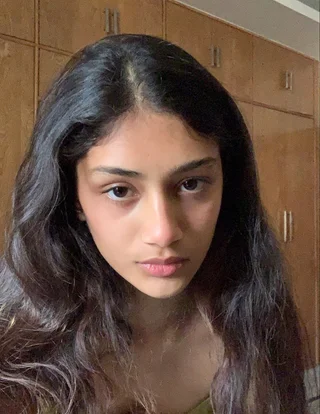
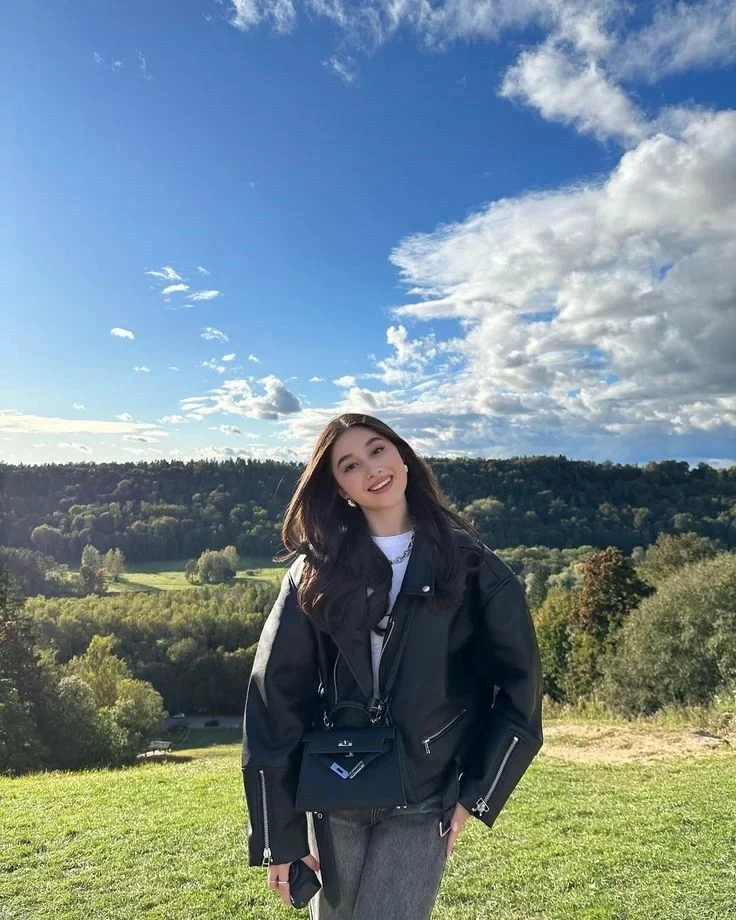
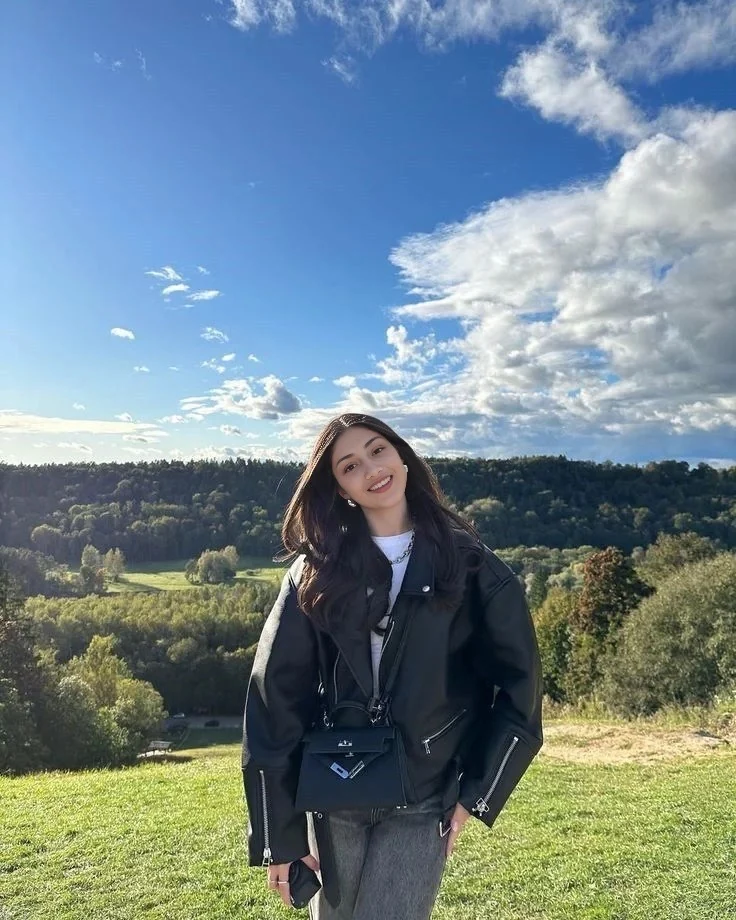
What to inspect
The sky fills nearly half the frame. Open the originals and compare the eyes and tilted jaw before zooming back out. At thumbnail size the landscape can make it difficult to judge the face.
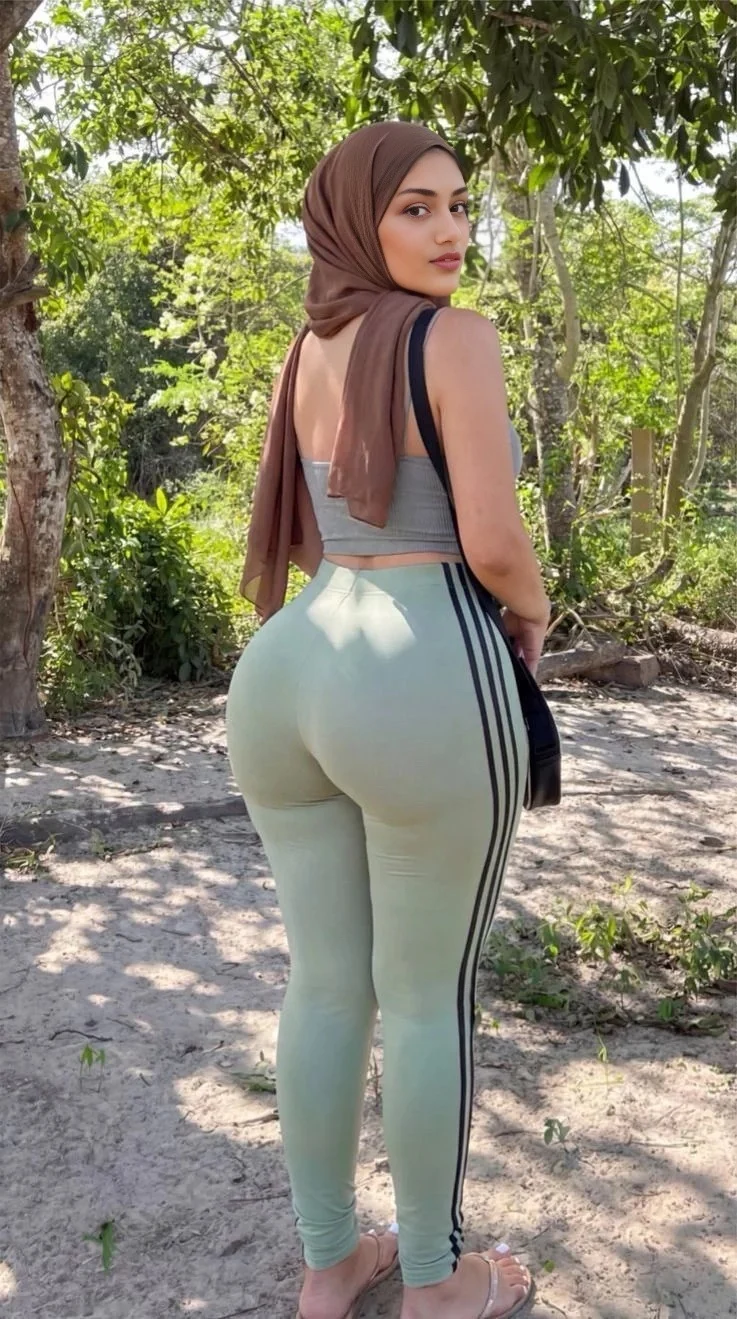
Over-the-shoulder woodland portrait
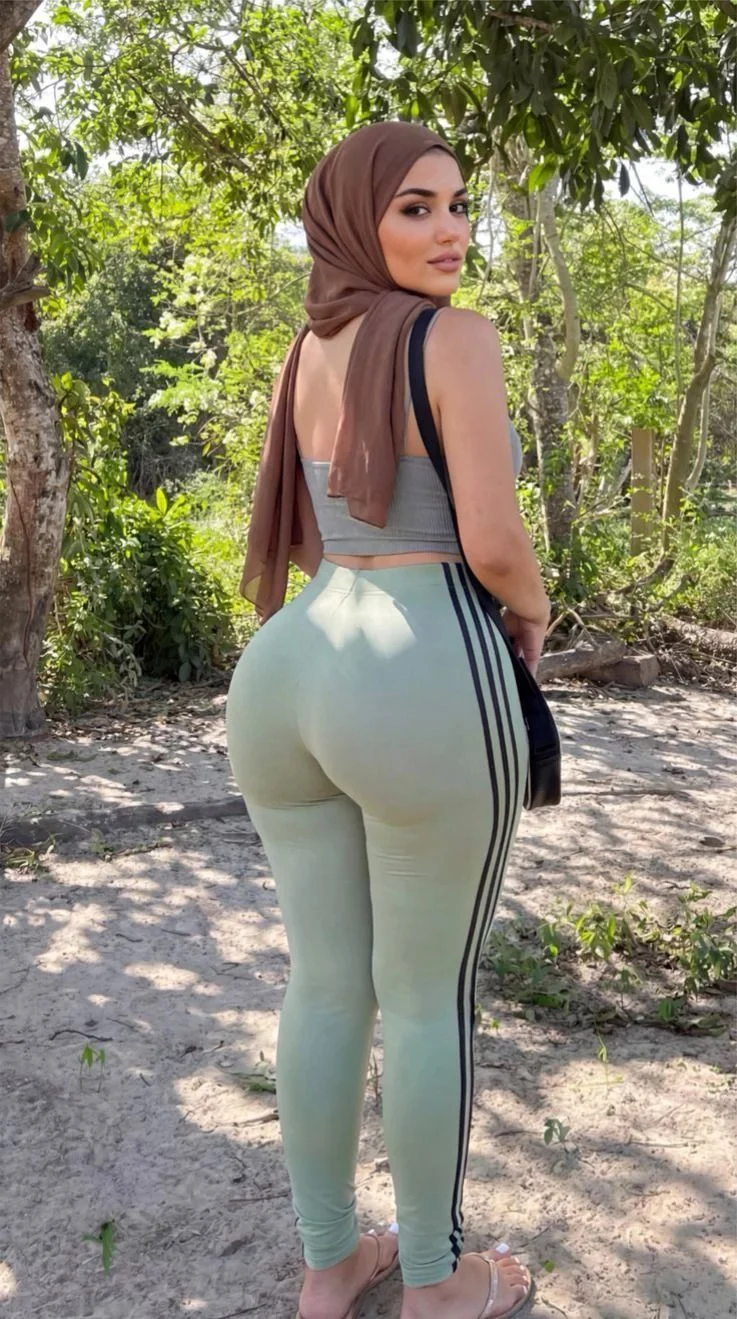
What to inspect
Follow the cheek from the visible eye toward the shoulder. The turned head and the scarf give you two edges to compare. Check the outline against the target and the eye shape against the source.
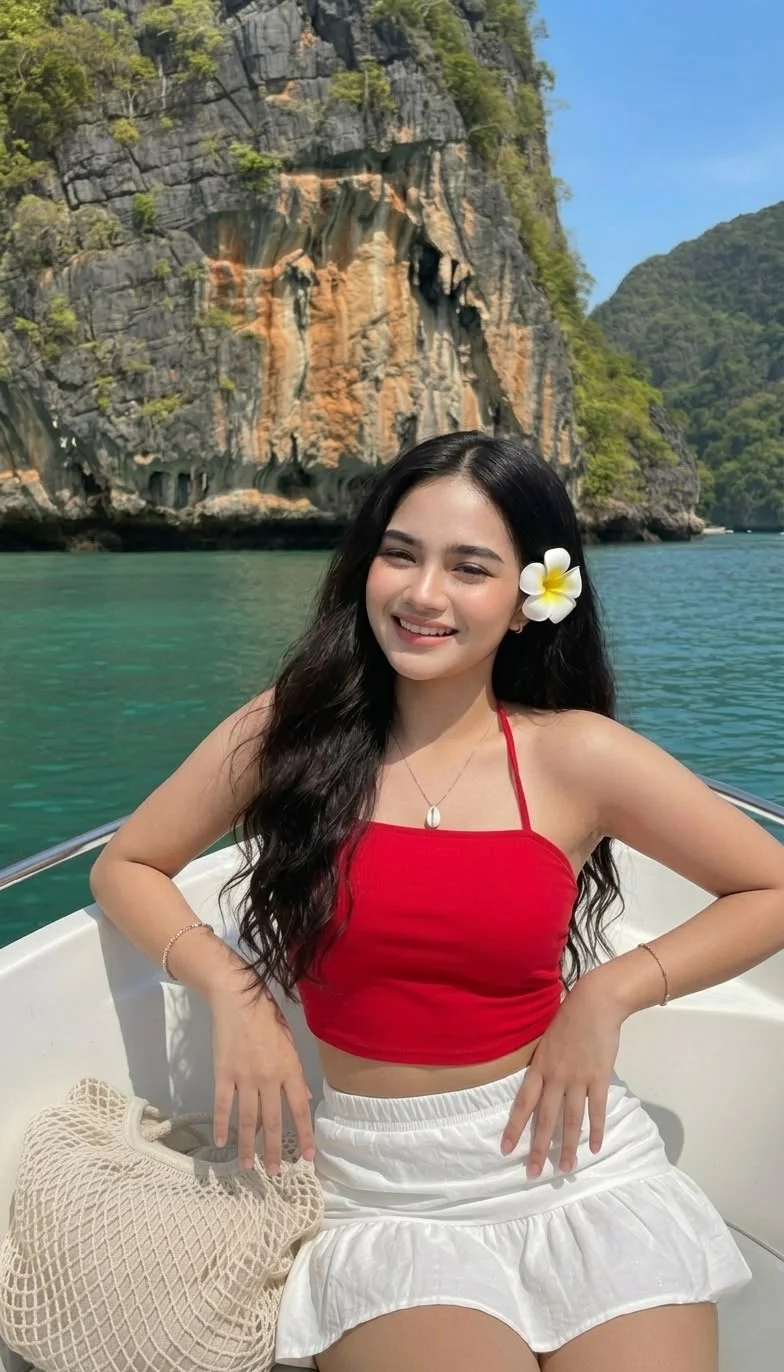
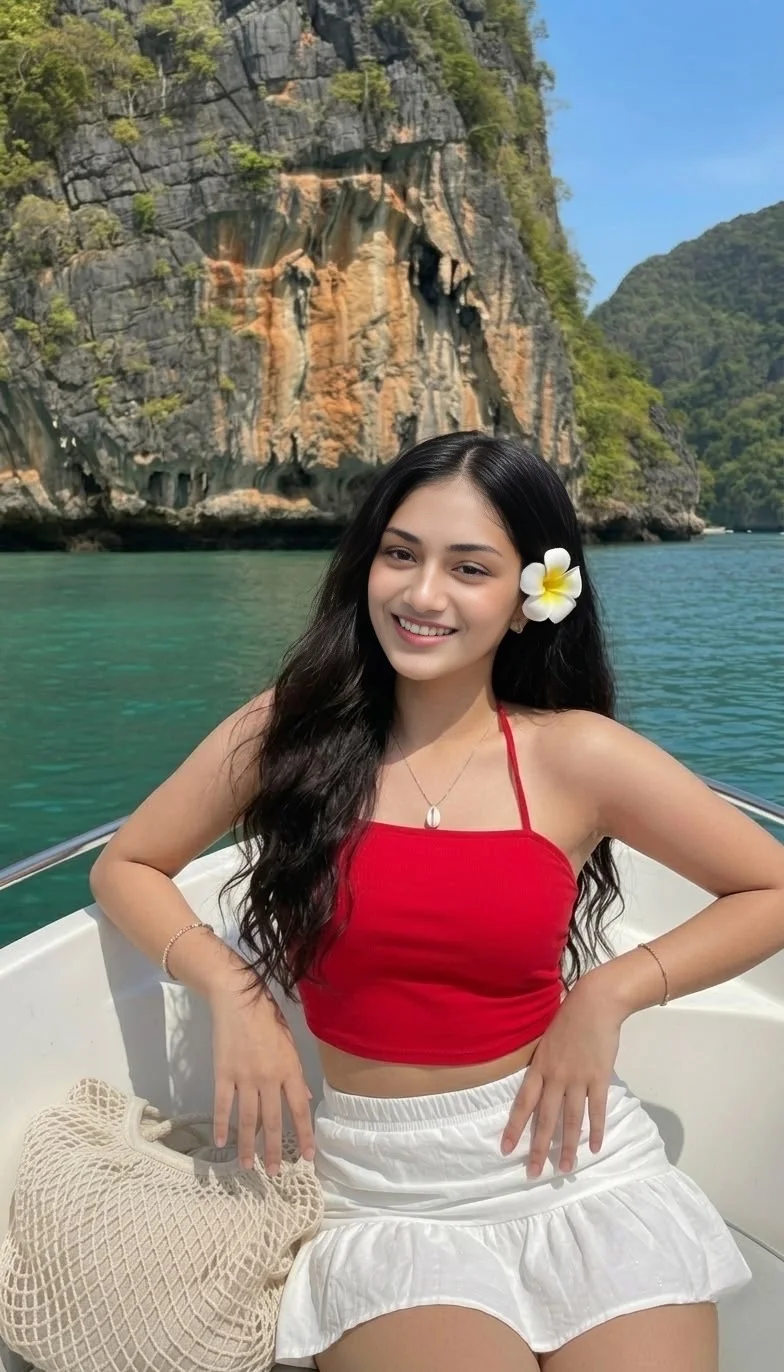
Coastal portrait
What to inspect
Compare the direction of the face with the body pose. Inspect the face boundary and the transition toward the neck, then check the boat and coastline against the target.
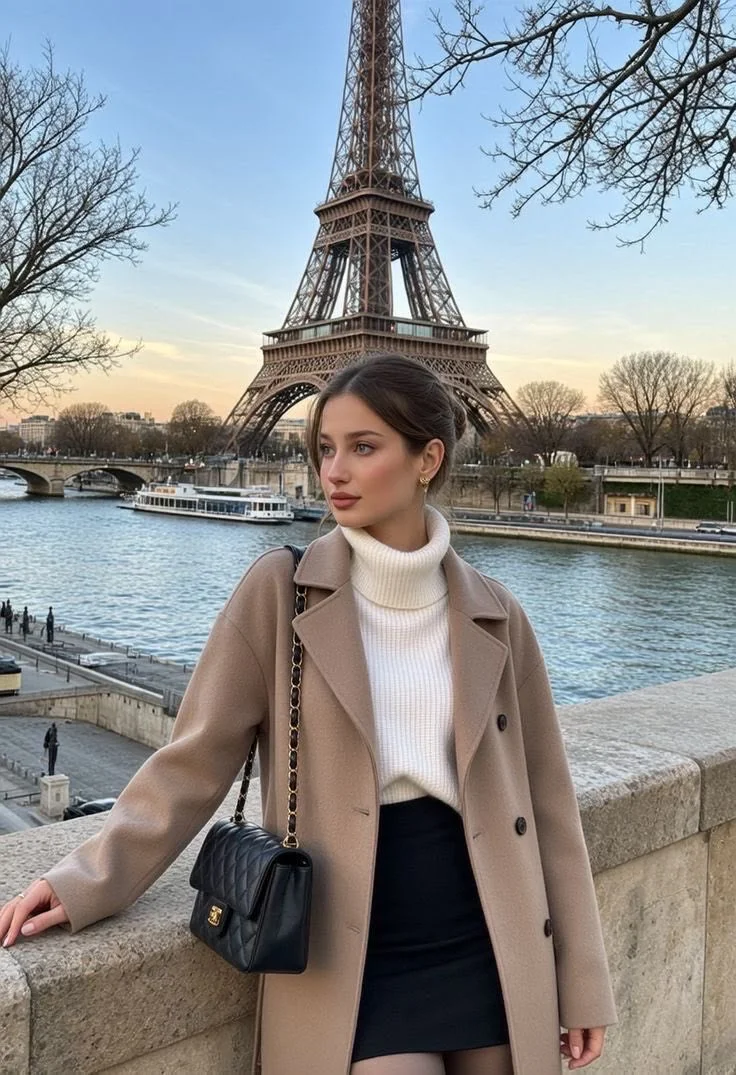
Paris portrait
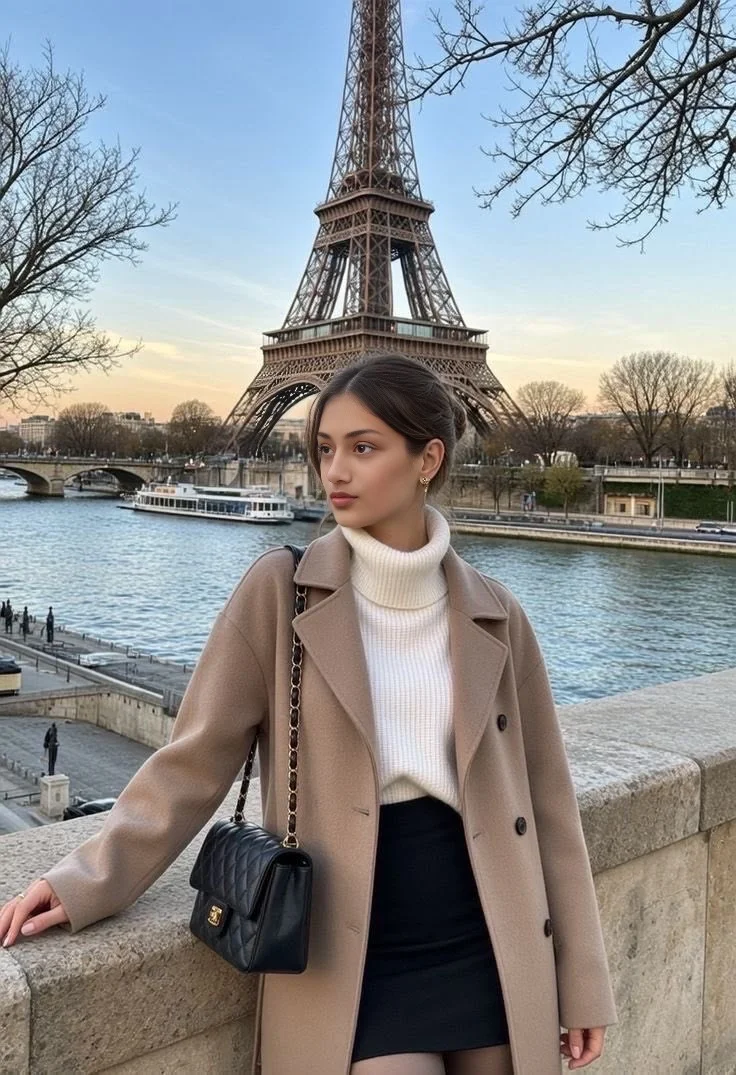
What to inspect
Look at the eyes and mouth at full size, not only the overall resemblance. Compare facial lighting with the surrounding scene and check the hairline against the original target.
City café portrait
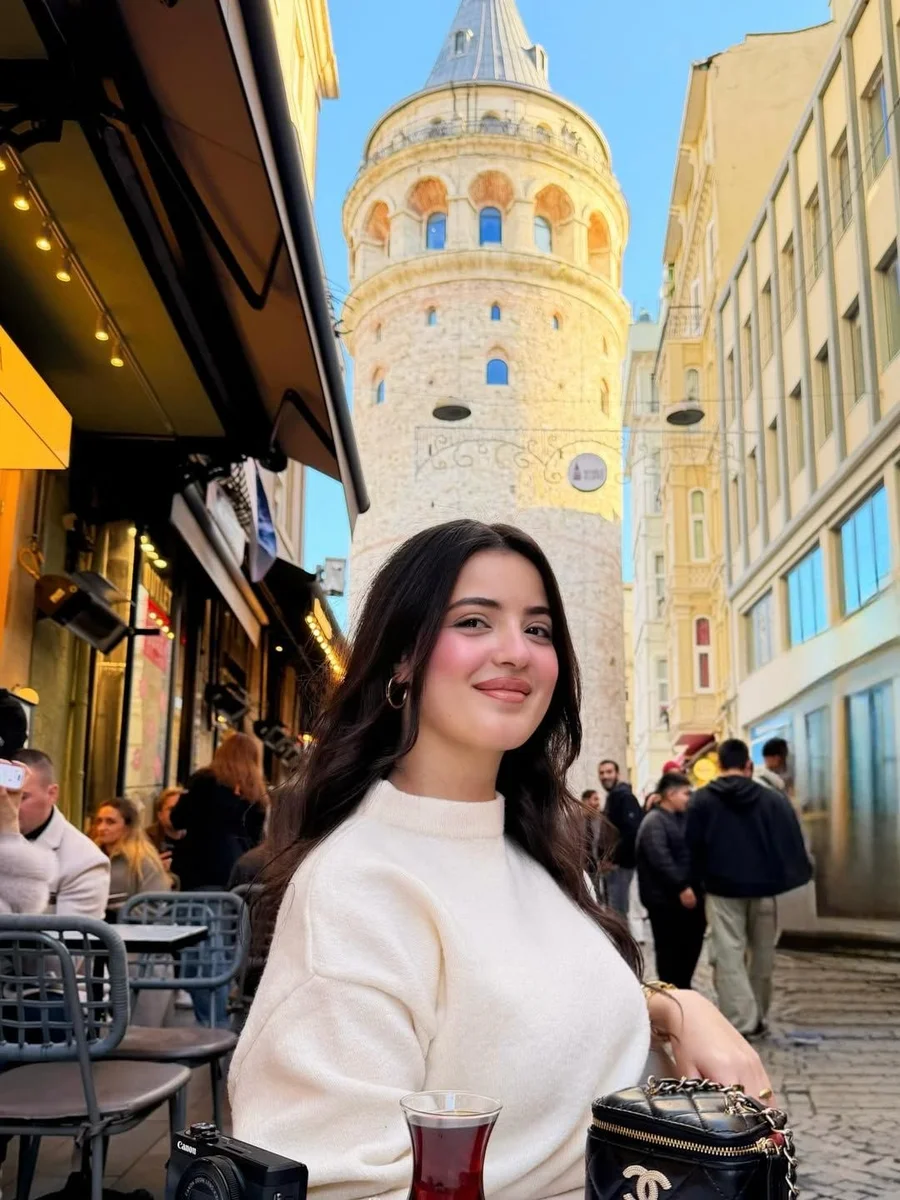
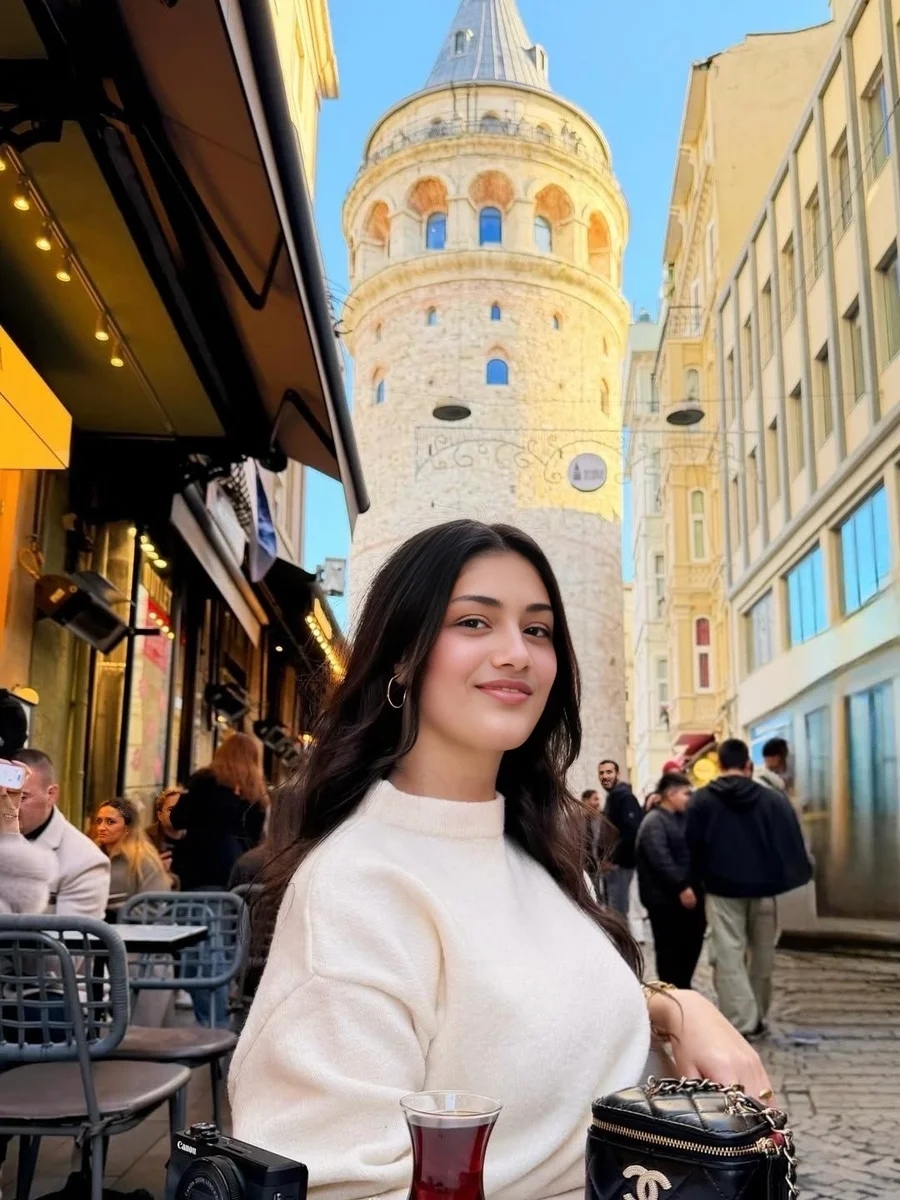
What to inspect
Compare the face angle and expression with the source. Check nearby hair, clothing and background details for unintended changes, as well as whether the face feels consistent with the target lighting.
Use the examples to choose your own inputs
Choose the target for the composition you want before picking a source. Compare head angle, expression and lighting. A source that works with one scene may not be equally suitable for another.
The editor currently supports one visible face in each input. These examples do not demonstrate group face mapping, GIFs, video, live calls or body replacement.
To repeat the workflow with your own photos, follow the two-photo face swap guide. For difficult inputs, use the realism checklist and result review steps.
Try your own photo pair
Upload two photos you have permission to use. Compare your output with the originals, and download only a result you want to keep.
Open the face swap editor