A face swap can look fake when the inserted face does not fit the target’s angle, lighting, expression, or surrounding edges. Sometimes the main problem is simpler: the face contains too little detail to inspect. Start by identifying what looks wrong, then change the input most connected to that symptom.
This guide helps you choose the next attempt after a disappointing result. Keep your source, target, and output available together. You will learn more by comparing those three images than by generating several versions from the same pair without a clear reason.
First, locate the problem
View the whole output, then enlarge the face. Decide which description fits best: the face looks pasted on, the identity feels wrong, the eyes or mouth look unnatural, the edge has a visible seam, or the face looks blurry.
Write down one specific observation before changing anything. “The jaw is sharp but the cheek is soft” is more useful than “the face looks bad.” It tells you where to look in the inputs and gives you something concrete to compare after the next attempt.
Also check whether the problem exists in the downloaded file or only in a small preview. Comparing a large output against a tiny source thumbnail can make differences in sharpness seem larger than they are. Open the images at similar face sizes.
If the face looks pasted on, compare direction and light
Start with the direction of the head. Look at the visible amount of each cheek, the angle of the nose, and the slope between the eyes. A straight-on source paired with a strongly turned target gives you fewer directly comparable features.
Next, compare the lighting. Which side of the face is bright? Where do the shadows fall under the nose and chin? A face lit evenly from the front can look disconnected from a target whose head has strong side lighting.
Try a source with a closer head angle and lighting pattern while keeping the target. If the target includes extreme shadows or hides much of one cheek, try a simpler target instead. Judge the next result at the boundary that bothered you first.
If it does not look like you, inspect the source
Check whether the source gives a clear view of the features you recognize. Heavy filters, blurred eyes, small facial detail, and hair over the face can make that comparison harder.
Choose a portrait where you can distinguish the eyes, nose, mouth and outline. Then compare the result with that portrait at a similar size. Focus on recognizable features rather than expecting the whole source expression to transfer unchanged into a different pose.
The target’s expression and head position can affect how you perceive the output. If the source is neutral but the target is laughing broadly, the result may feel unfamiliar even before you inspect individual details. Try a source closer to the target expression and see whether that improves the resemblance.
If the eyes or teeth look wrong, check expression and obstruction
Mouth shape is often central to the intended picture. Compare whether the source and target have open or closed mouths and whether teeth are visible. A broad smile and a closed-mouth source give you different details to work with.
For the eyes, inspect eyelids, glasses, hair and shadows. If one eye is partly hidden in the target, the output may be harder to judge at that boundary. A cleaner target can be a better next attempt than repeatedly submitting the same obstruction.
Avoid changing the source, target, crop and caption all at once. Pick the mismatch you can explain, change one input, and inspect the same feature afterward. If the expression is essential to a meme, preserve that purpose when choosing the replacement photo.
If there is a seam, trace the face boundary
Look along the cheek, jaw, hairline and neck. Identify where the transition becomes obvious. Is there a sudden shift in tone, a hard outline, or a nearby object whose edge no longer matches the target?
Use the original target as your reference. The woodland gallery example has a turned cheek next to a scarf, making that boundary easy to locate. You can open the woodland source, target and result and compare the same area across them.
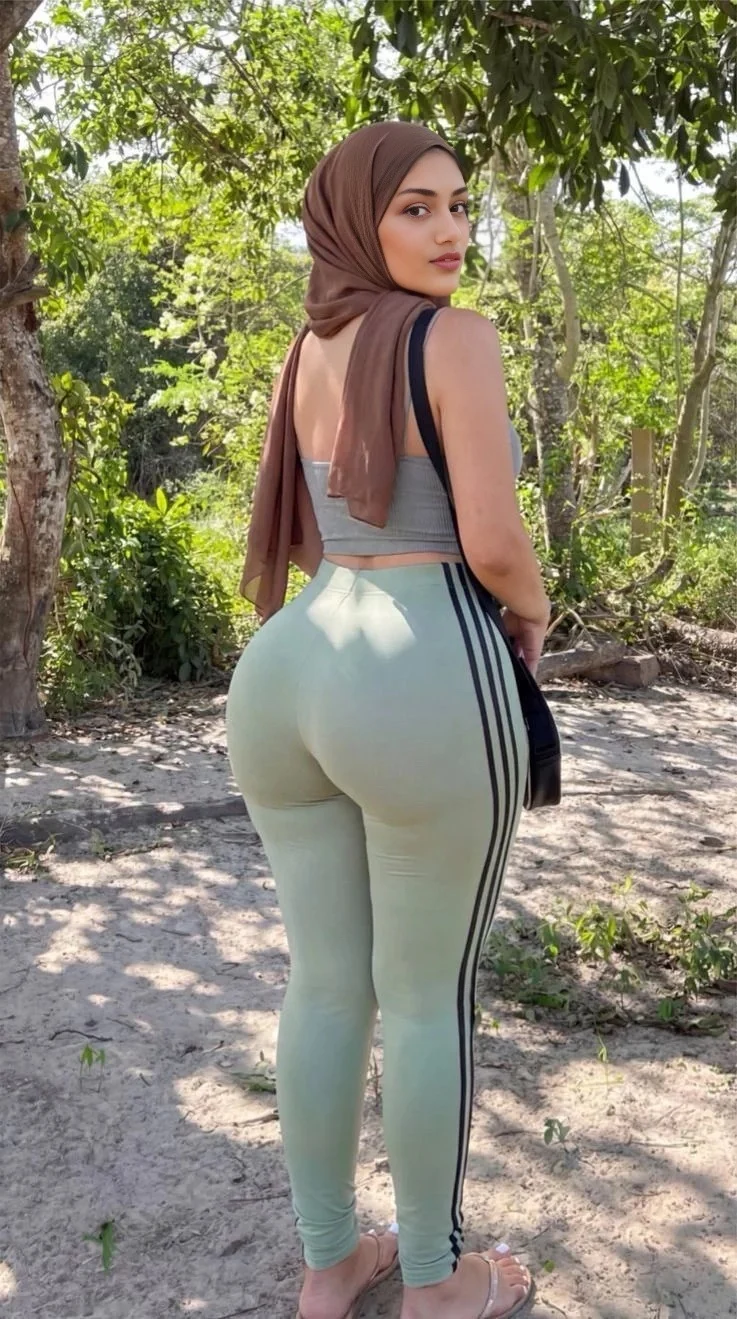
The photo illustrates where to inspect an edge. If your own output shows a problem there, try a target with less obstruction or a source whose angle is closer. Some image pairs may still need manual editing in a separate editor if you want to keep that exact composition.
If the face looks blurry, check how much detail you supplied
A large image can contain a very small face. Look at the actual facial detail in the source and target instead of judging by file size alone.
In the hillside example, much of the picture is sky and landscape. That composition works for the scene, but you need to enlarge the face to review it. A closer portrait gives you more facial detail to compare when resemblance is the main goal.
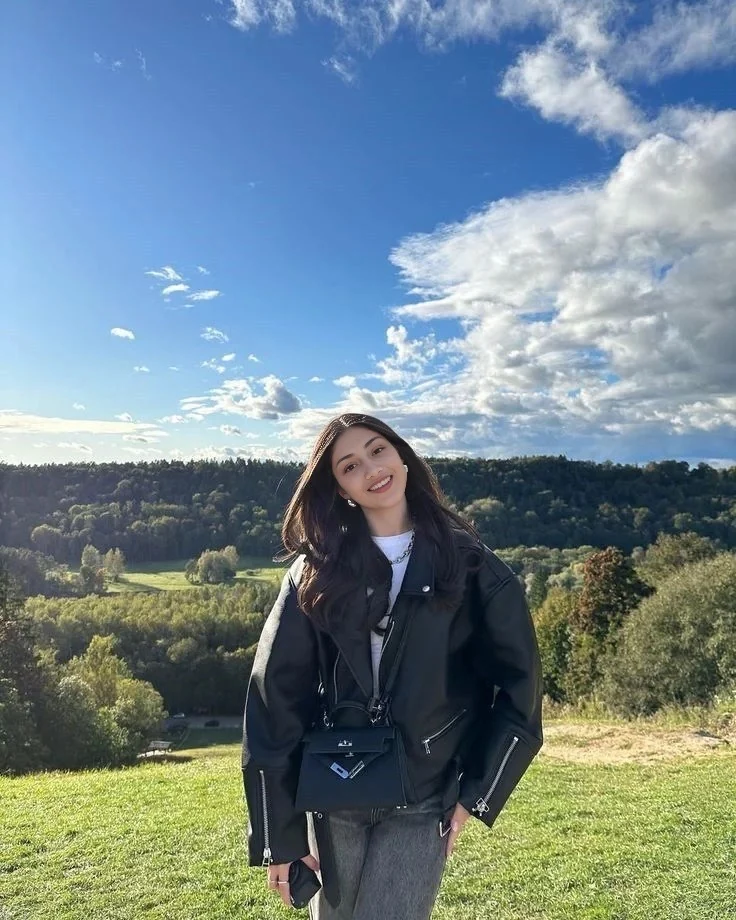
Repeated screenshots and compressed copies can lose detail before the swap starts. Use the clearest original available. Cropping can make the face easier to inspect, but enlarging a blurred face cannot restore the missing features.
If only the copy sent through a messaging app looks soft, compare it with the original download. That helps distinguish an output problem from a later sharing or compression problem.
Choose one change for your next attempt
For a pasted-on appearance, try a source closer to the target’s head direction and lighting. For weak resemblance, choose a clearer source with visible features. For an unnatural mouth, compare expressions. For a seam beside hair or fabric, try a less obstructed target. For a tiny, blurry face, choose a closer portrait.
Keep a small record of what you changed. Save the original inputs and name the outputs so you can recognize which source produced each one. Inspect the same feature in both results before deciding whether the change helped.
Stop repeating an unchanged pair when you cannot identify an improvement or a reason the next attempt should differ. Choose a simpler target or a different source. More attempts alone do not establish that the input pair is suitable.
Questions about unnatural face swap results
Why does my face swap look pasted on?
Compare the direction of the face, the lighting, and the jaw or neck boundary. A visible mismatch in one of these areas can make the face feel separate from the target. Change the input connected to the mismatch and compare that area again.
Can changing the target fix a bad face swap?
It can help when the target has a small, strongly turned, shadowed or obstructed face. Keep the source and try a target with clearer facial detail. Compare the results before deciding whether the target was the main difficulty.
Should I sharpen a blurry selfie before swapping?
Start with a clearer original if you have one. Sharpening can emphasize edges, but it cannot recover facial detail that was never captured. Inspect the eyes and mouth before deciding whether the edited selfie is actually more useful.
When should I use manual editing?
Consider it when you need to keep an exact composition and a small visible boundary still needs work after trying suitable inputs. A dedicated image editor may give you local controls for that finishing task. Review the entire result after any edits.
Will a more expensive plan make the same pair realistic?
Do not assume payment changes how a particular pair fits together. Check what the plan actually provides, and base your next attempt on the visible problem. Photo compatibility and the output itself still need review.
Try again with a specific change
Choose the symptom you can point to, replace the input most likely to address it, and open the photo editor. If you want help preparing a pair before generating, use the realistic face swap guide. It covers the full preparation and review process.